Scanning a target
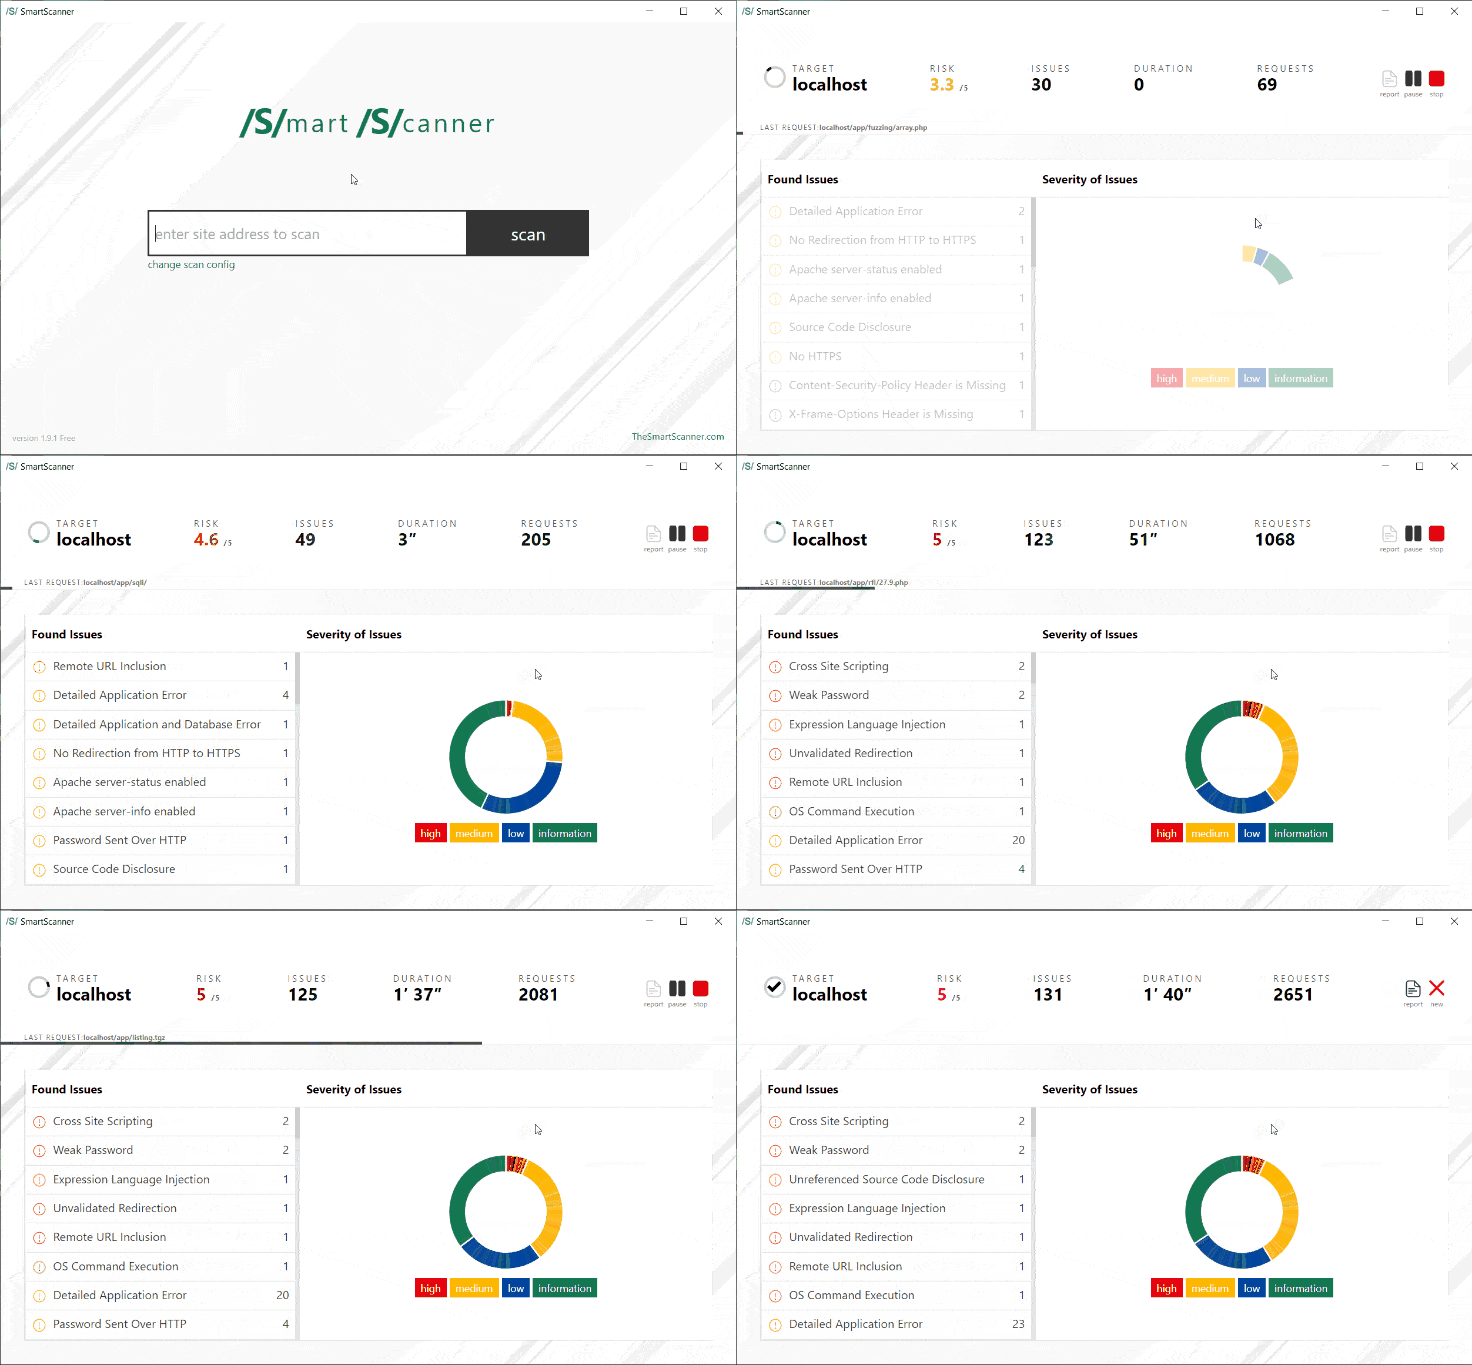
Initiating a scan with SmartScanner is straightforward. Simply input your website’s URL into the designated field and click the “Scan” button. SmartScanner will automatically commence scanning your website, and you can monitor the progress and view the results in the dashboard.
During the scan process, you have the option to pause, resume, or stop the scan as needed.
Note: Once a scan is stopped, it cannot be resumed.

Customizing Scan Configurations
If you require specific scan configurations, SmartScanner allows you to customize them effortlessly. Simply click on the “Change Scan Config” option located below the target input field. In the scan configuration page, you can select tests tailored to your requirements and configure authentication and proxy parameters for your target.